Quick answer
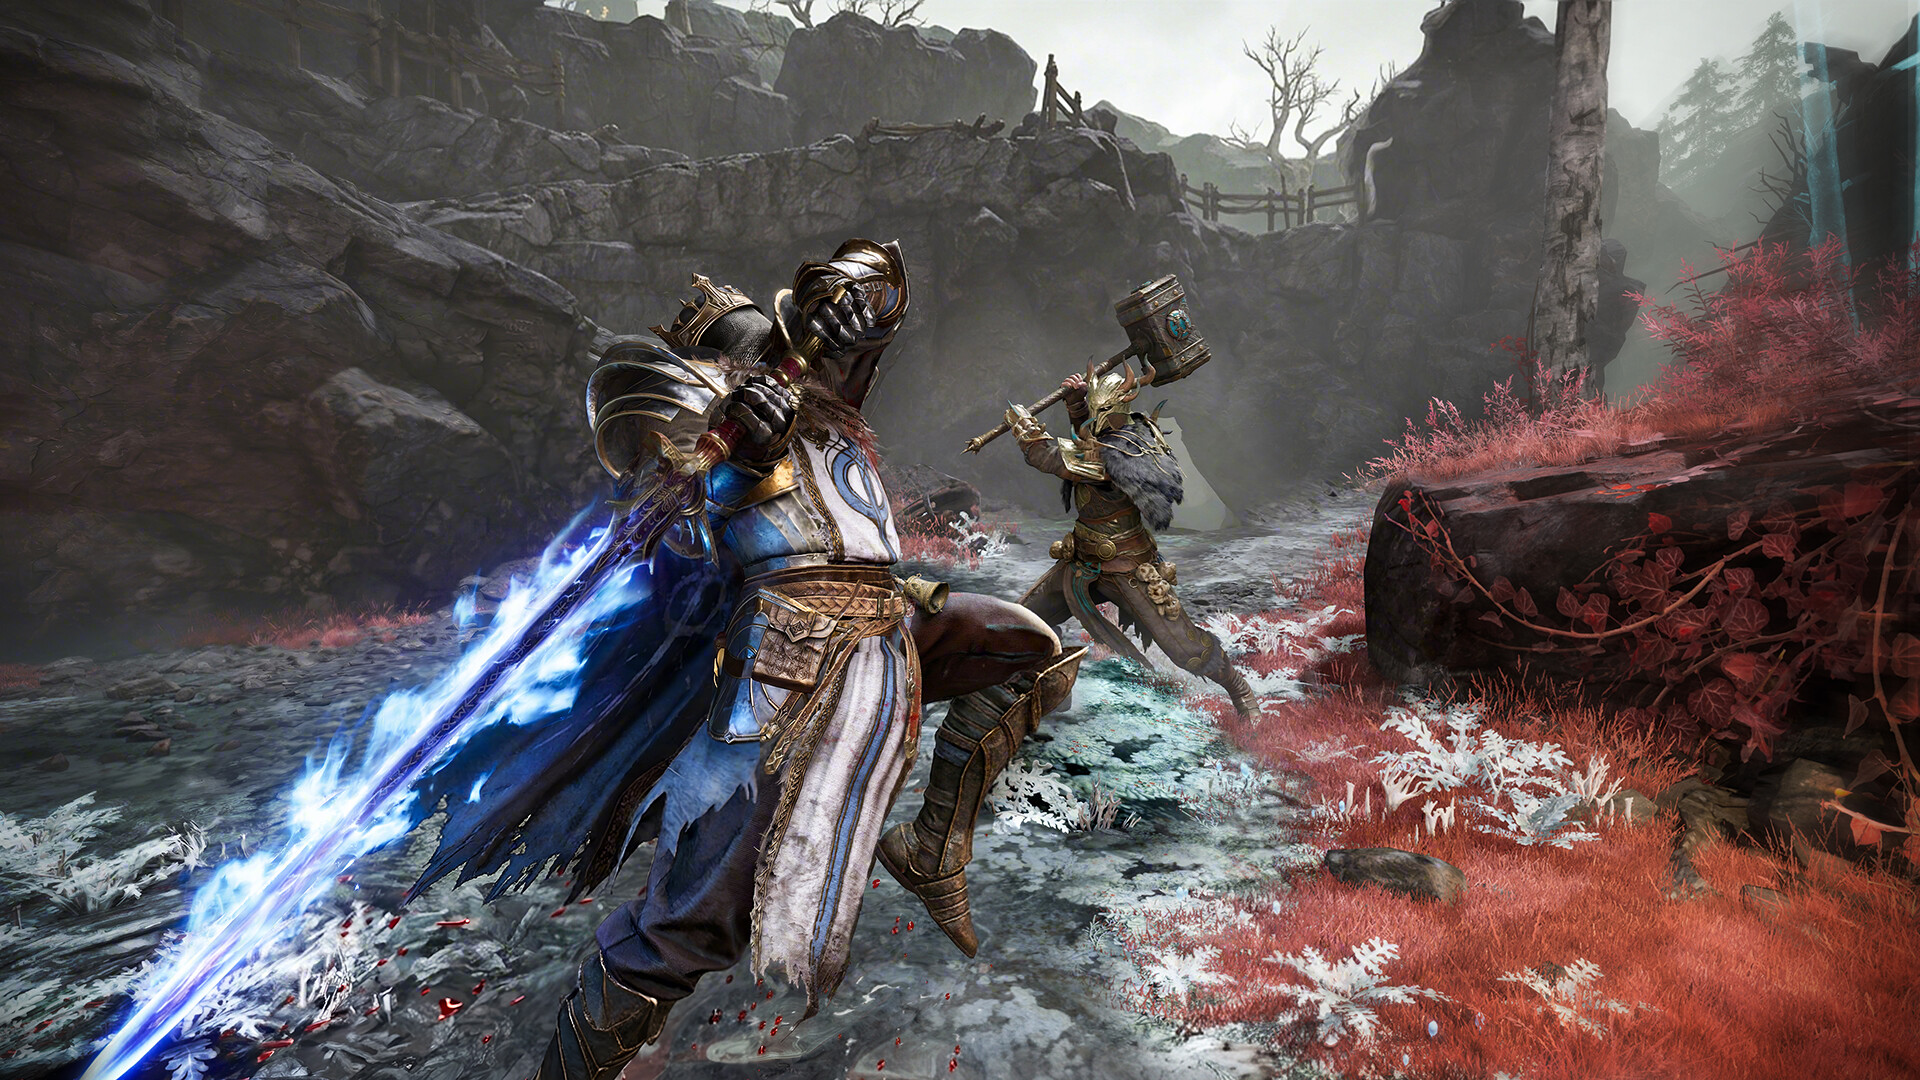
Withered Knight has two official Polearm & Shield directions: an aggressive shield-charge path and a team-defense path built around an empowered heavy strike and area knockback. Pick the role first; a single fixed build ignores the class's current weapon branches and team needs.
Evidence checked
DevNote #7 describes the Polearm & Shield's range, active blocking, counterplay, six new skills, remote downed-teammate rescue, and two talent directions. The July 30 update then adjusted Charged Dash, basic attacks, Spear Barrage, Rainbow Piercer, and Block.
| Last checked | August 2, 2026 |
|---|---|
| Update trigger | Update when Bellring publishes a class reference or a source-linked test validates the exact skill, gear, and match-up assumptions for the current patch. |
Choose the weapon branch before the talents
DevNote #7 frames Greatsword as the more offensive-oriented branch and Polearm & Shield as a hybrid offensive-defensive option with more team utility. The latter keeps the Wither and Execute systems, adds six skills, and can rescue a downed teammate from range.
The official description says the polearm rewards timing and aim, while the kite shield can charge while blocking and gives some skills interruption resistance. That makes reach, shield charge, and counter timing more reliable build anchors than an unsourced damage ranking.
Two official Polearm & Shield paths
The aggressive path increases shield-heavy-strike charging efficiency and can gain charge while shield-raise dodging. It is the better test route for a player trying to pressure a line with repeated dashes and polearm reach.
The team-defense path infuses the shield so a charged heavy strike creates an area knockback. It is the better test route for a group that needs to break focus fire, protect a teammate, and create a stable counter window.
Current patch checks
The July 30 update reduced the energy drain on Charged Dash while raising the shield, improved Tier-1 turning, increased the first and third thrust damage, increased Spear Barrage's multiplier, reduced Rainbow Piercer's energy cost and cooldown, and reduced Block's energy cost. Re-test any older Polearm & Shield clip against those changes.
Use one branch, one weapon setup, and one clear success measure per session: reach a target, hold a counter, rescue a teammate, or survive a failed engagement. Record the patch and team composition before turning a result into a recommendation.
| Guide angle | Practical recommendation | Why it matters |
|---|---|---|
| Primary decision | Use the July 30 patch as the baseline. | This is the first action readers should test in real runs. |
| Risk check | Test defensive choices with a consistent weapon setup. | This keeps the recommendation tied to extraction risk instead of generic fantasy advice. |
| Update trigger | Measure recovery after a missed engagement. | Refresh this recommendation after official footage, patch notes, or confirmed launch data. |
Action checklist
- Use the July 30 patch as the baseline.
- Test defensive choices with a consistent weapon setup.
- Measure recovery after a missed engagement.